A solid security camera installation boils down to a few key stages. You've got the initial planning and layout, picking the right gear, running the cables, setting up the software, and finally, getting everything mounted and tested. But let's be honest, if you rush the planning phase, the rest of it doesn't matter much. That's where costly mistakes are made.
Your Blueprint for a Successful Camera Installation
Before you even think about drilling a single hole, you need a plan. This is easily the most critical part of the process. I’ve seen it time and time again: a rushed installation always leads to blind spots, fuzzy images, or a system that just doesn't cover the property's real weak points. Think of your plan as the strategic foundation for everything that follows.
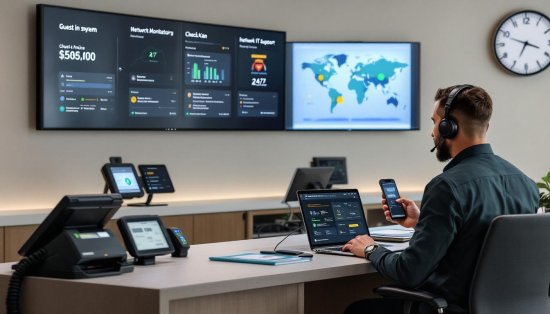
This initial process is about putting on two hats at once. You need to think like a potential intruder looking for a way in, and also like a meticulous IT manager who has to make it all work within the building's infrastructure.
Conduct a Thorough Site Survey
First things first, walk the property. And I mean really walk it, with a critical eye. Don't just glance at the main entrances. Go looking for the less obvious vulnerabilities that are easy to overlook.
- Map every way in and out: This isn't just the front door. It includes employee entrances, loading docks, fire escapes, and even ground-floor windows.
- Identify your high-value areas: Where are the crown jewels? This could be the server room, inventory storage, or the office where sensitive files are kept.
- Pinpoint high-traffic zones: Think about lobbies, main hallways, parking lots, and common areas in multi-residential buildings. These are places you need clear visibility.
- Look for the dark spots: Unlit alleyways, the back corners of a parking garage, or shadowy walkways are magnets for trouble.
As you do this walkthrough, take pictures and make notes. This documentation will be a lifesaver when you start deciding where to put cameras. Keep an eye out for potential obstructions too—things like trees, support pillars, or large signs that could block a camera's view.
A classic rookie mistake is focusing only on the building's exterior. Internal choke points, like stairwells and elevator lobbies, are just as critical for tracking how people move through the property.
Define Your Security Objectives
What do you actually need this camera system to do? Just "improving security" is way too vague. You need to get specific, because your goals will dictate every decision you make about hardware and features.
Are you trying to:
- Deter theft? In that case, you'll want highly visible cameras placed at entrances and near valuable assets.
- Identify individuals? This calls for high-resolution cameras placed at face-height near doorways to get clear shots.
- Monitor operations? Wide-angle views of a warehouse floor or a busy lobby can give you great operational insights.
- Capture license plates? You'll need a specialized camera with a tight, narrow field of view aimed right at vehicle entry and exit points.
Having clear objectives stops you from overspending on fancy features you don't need and ensures the system you build actually delivers real, measurable results. For anyone going the wireless route, a good DIY wireless security camera installation guide can offer some great pointers from planning all the way to final setup.
This simple workflow helps visualize how these foundational steps connect. You survey the site, map your placements, and then choose the right gear for the job.

Following this simple three-part strategy ensures your hardware decisions are directly linked to your property's unique needs and what you're trying to protect.
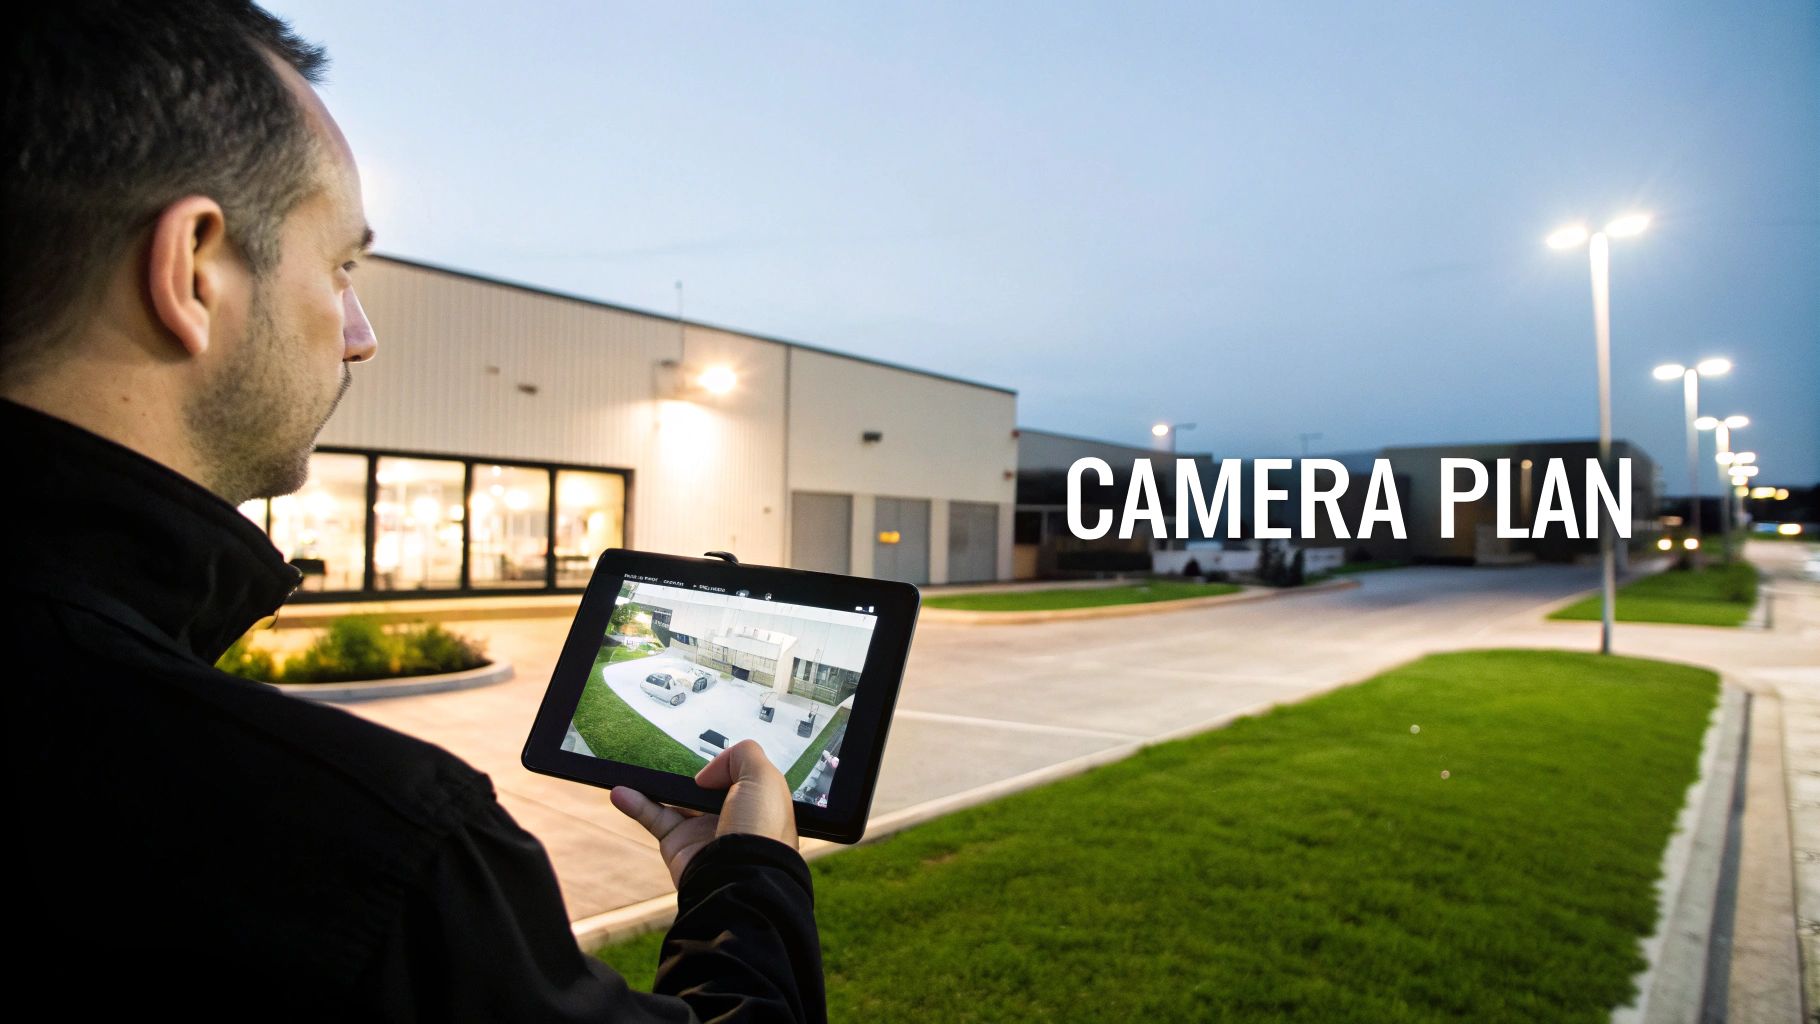
Create a Detailed Camera Map
Now, take your survey notes and your list of objectives and sketch out a simple floor plan or site map. On this map, mark the exact location you're planning for each camera.
For every camera you mark, jot down its primary purpose and what it needs to see. For example: "Lobby Cam – Identify Faces" or "Parking Lot Cam – General Surveillance."
This map becomes your installation blueprint. It helps you see the whole picture, spot any potential coverage gaps, and get a rough idea of how much cable you'll need for a wired system. It’s no surprise that networked systems are taking over; as of 2025, IP cameras hold a dominant market share of 36.47%, mostly because they're so flexible to install and can be accessed remotely. This planning stage is your chance to build a system that works perfectly today and can easily grow with you tomorrow.
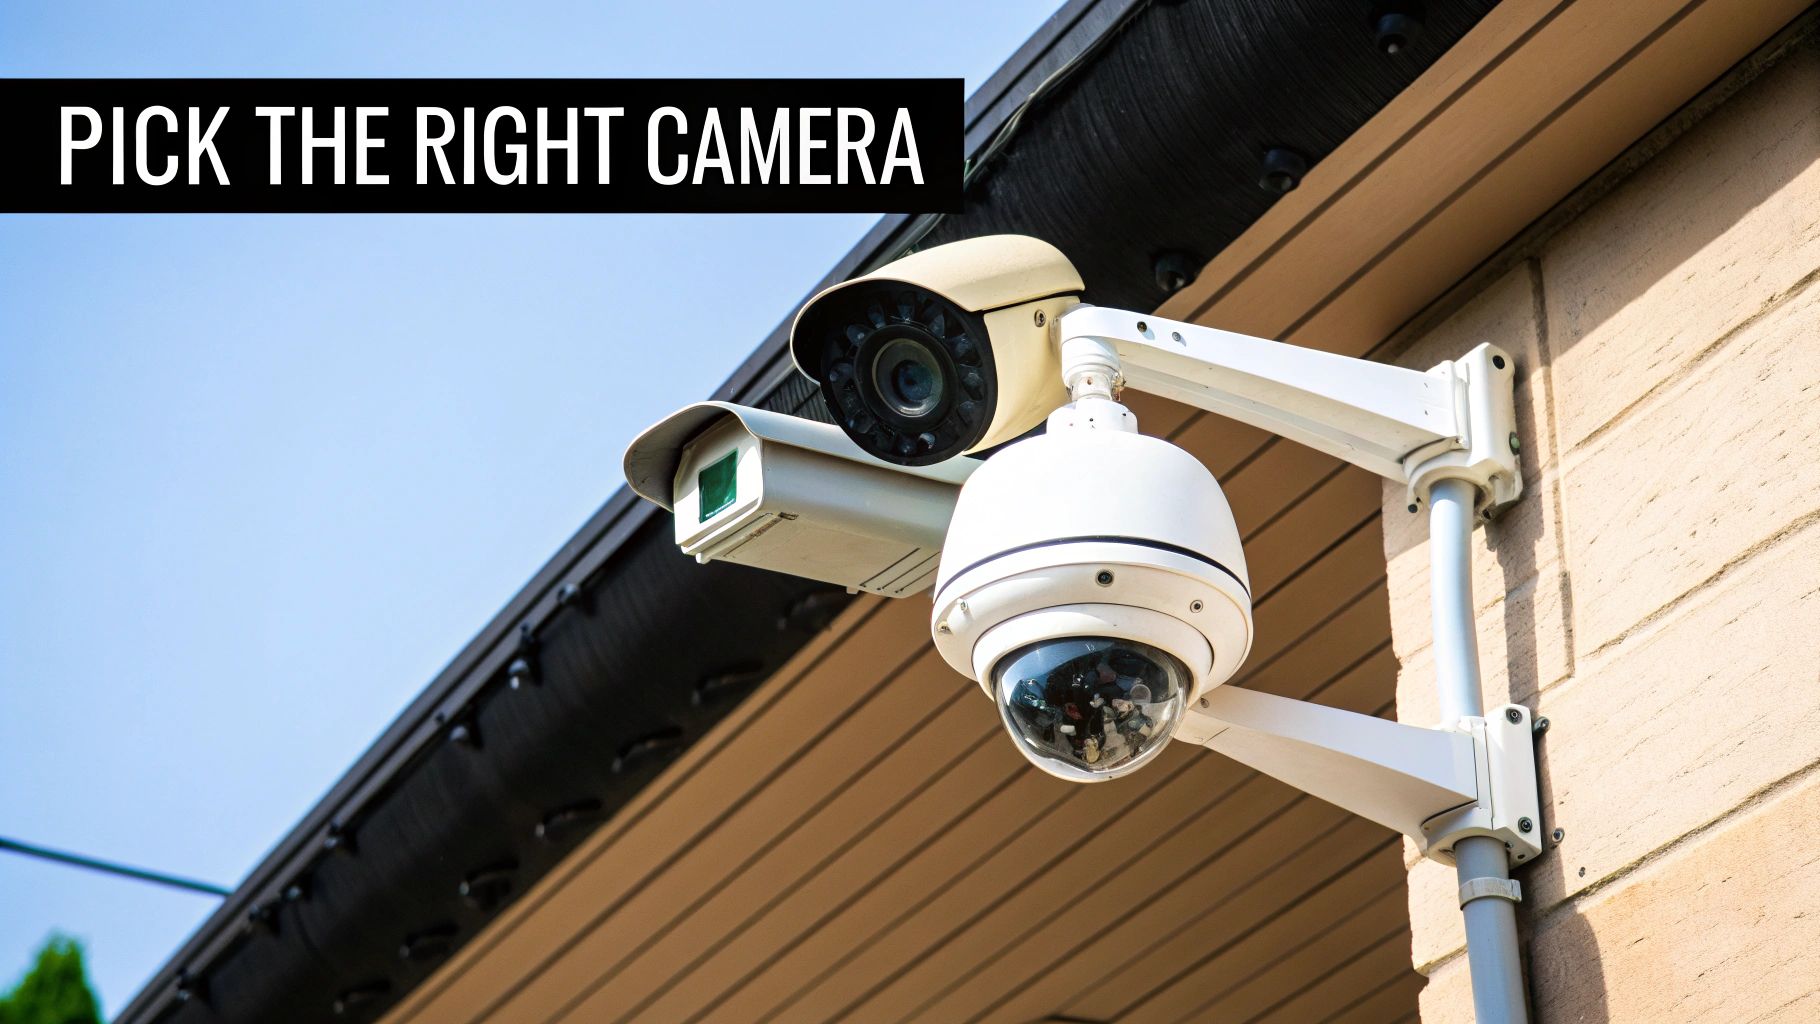
Choosing the Right Cameras and Where to Place Them
Once you’ve mapped out your property, it's time to get into the nuts and bolts: picking the right hardware and deciding exactly where each camera will live. This is where a lot of people go wrong. It's easy to get caught up in specs, but the truth is, not all cameras are built for the same job. Putting the wrong type of camera in a critical spot is a classic, costly mistake that can leave you with useless footage.
The goal here isn't just about getting the highest resolution. It's about matching the camera’s capabilities to the specific security need of that location. You’re building a system where every piece of hardware is pulling its weight.
Think about the environment first. Is the location exposed to harsh weather? What’s the lighting like at 2 AM? Is there a risk of vandalism? Answering these questions first ensures you deploy a camera that can actually perform when you need it to. A high-tech camera in the wrong spot is just an expensive decoration.
Matching the Camera to the Mission
For most commercial or multi-resident properties, your needs can usually be met by a mix of three main camera types. Understanding what each does best is the key to building a truly effective surveillance network.
Camera Type Comparison for Commercial Properties
To make the right call, it helps to see the options side-by-side. Each camera type has a role to play, and a well-designed system often uses a combination of all three to cover different vulnerabilities.
| Camera Type | Best For | Pros | Cons | Placement Tip |
|---|---|---|---|---|
| Bullet | Outdoor perimeters, parking lots, loading docks. | Highly visible deterrent, good for long distances, often includes sun shield. | Can be easier to tamper with, fixed view only. | Mount high on building corners or poles for maximum area coverage and deterrence. |
| Dome | Lobbies, hallways, covered entryways, common areas. | Discreet, vandal-resistant, hard to tell where it's pointing. | Fixed view, can have IR glare issues if not installed correctly. | Ideal for ceiling or wall mounting in high-traffic indoor areas where aesthetics matter. |
| PTZ (Pan-Tilt-Zoom) | Large open areas: parking garages, warehouses, outdoor courtyards. | Covers a massive area, can zoom in on details, active monitoring capability. | More expensive, requires an operator for best use, single point of failure. | Use sparingly in high-value, wide-open areas where you need to follow activity. |
Choosing the right hardware is a big decision, and it pays to dig a little deeper. Properties have unique challenges, so it's always smart to compare the best security cameras for small business needs before you buy.
Strategic Camera Placement Tips
Where you put the camera is just as critical as which one you buy. I’ve seen countless systems rendered useless by poor placement. You can end up with giant blind spots or footage that doesn’t capture anything important.
The main objective is to get clear, identifiable footage. At every entrance and exit, this means mounting cameras at an angle and height that actually captures faces—not just the tops of people's heads. A good rule of thumb is to mount them between 8 to 10 feet off the ground, angled down just enough. This keeps them out of easy reach but low enough for a solid facial view.
One of the most overlooked details is lighting. A camera pointed toward the rising or setting sun is going to be completely washed out for a good chunk of the day. Before you drill any holes, watch how the light changes in that spot and check for glare or deep shadows that will kill your image quality.
Avoiding Common Installation Pitfalls
Even with the best gear and a solid plan, a few simple mistakes can sink your entire security setup. One of the biggest offenders is creating unintentional blind spots. As you finalize camera locations, visualize how their fields of view overlap. You’re aiming for seamless coverage, especially along critical paths like walkways, corridors, and stairwells.
Before you finalize each mounting spot, run through this quick mental checklist:
- Check for Obstructions: Is that tree going to grow and block the view in two years? Is there a pillar or a large sign in the way?
- Consider the Elements: Is the camera properly rated for its environment? An indoor-only camera mounted under an outdoor awning will fail, it’s just a matter of when. Moisture and extreme temperatures are unforgiving.
- Prioritize Choke Points: Your best, highest-resolution cameras should be focused on places people have to pass through. Think doorways, elevator lobbies, and security gates. This gives you the best shot at getting clear, identifying details when it counts.
- Balance Security and Privacy: Make sure your cameras are aimed at common areas and property, not into private spaces like apartments or restrooms. This is absolutely essential for compliance and maintaining trust with residents or tenants.
By thinking through both the "what" and the "where," you graduate from simply recording video to creating a smart surveillance system that actively protects your people and your property.
Wiring Your System for Power and Connectivity
A perfectly placed camera is useless if it’s constantly dropping its signal or losing power. For any commercial or multi-residential property, the wiring and network infrastructure isn't just a detail—it's the central nervous system of your entire surveillance setup. Get this foundation wrong, and nothing else matters.
While the cameras themselves get all the attention, experienced IT managers and property operators know the real workhorse is the cabling and network configuration. This is what guarantees your system performs flawlessly, day in and day out.
The Power of PoE Explained
For any modern IP camera installation, Power over Ethernet (PoE) is the only way to go. It’s been the industry standard for years, and for good reason. This technology lets you send both data and electrical power to your cameras through a single Ethernet cable, which completely changes the installation game.
Instead of the headache of running separate power and data lines to every single camera, you just run one. This doesn't just cut your labor and material costs in half; it results in a much cleaner, more professional installation. Power is supplied from a PoE-enabled network switch or a simple PoE injector, delivering a stable, low-voltage current right to the camera. You can get a deeper dive into what a PoE security camera is and how it works to understand why it’s the superior choice.
There are some serious advantages to this approach:
- Centralized Power Management: Your cameras are all powered from a network switch, which you can (and should) back up with an Uninterruptible Power Supply (UPS). This simple step keeps your surveillance running even when the power goes out.
- Installation Flexibility: No outlet? No problem. You can mount cameras exactly where they need to be—high on walls, on exterior poles, or in drop ceilings—without calling in an electrician.
- Enhanced Safety: PoE runs on low-voltage DC power. It’s far safer to work with and eliminates the risks that come with running traditional AC power lines across a property.
Wired vs. Wireless: The Reliability Debate
Sure, wireless cameras are convenient, but in a professional security context, nothing beats the reliability of a hardwired connection. It’s a non-negotiable for a reason. Wired systems are immune to the Wi-Fi interference, signal drops from thick concrete walls, and security vulnerabilities that can plague wireless setups.
For your most critical locations—think entry points, server rooms, or cash-handling areas—a wired connection is the only way to guarantee a constant, stable video feed. The market data backs this up: wired systems hold a dominant 44.31% market share because they deliver the nonstop connection needed in high-stakes environments. That said, cloud-based systems are the fastest-growing segment and are projected to grow by 15.87% annually through 2033, merging hardwired reliability with the flexibility of remote access. You can see more about these market trends on GlobeNewswire.
When you're weighing the options, think of it this way: a wireless camera might be fine for a low-risk interior common area. But for the main gate of a parking garage where you need to capture license plates 24/7, wired is the only professional choice.
Calculating Your Network and Bandwidth Needs
Adding a dozen high-resolution video streams to your network is a serious load. You have to be absolutely sure your network can handle the new traffic without slowing down essential business operations for staff or residents. The last thing you want is for your brand-new security system to bring the property’s Wi-Fi to a screeching halt.
Your bandwidth consumption really comes down to three things:
- Resolution: A 4K camera is going to chew up a lot more bandwidth than a 1080p one.
- Frame Rate: A smooth 30 frames per second (fps) looks great, but it demands more data than a standard 15fps.
- Compression: Modern codecs like H.265 are incredibly efficient, shrinking the data footprint without a noticeable loss in quality compared to older standards.
Here’s a quick back-of-the-napkin calculation: a typical 4MP camera streaming at 15fps will use about 4-6 Mbps. Now, multiply that by the number of cameras. If you’re installing 10 of them, you’re adding up to 60 Mbps of constant, dedicated traffic to your network. Before you buy a single camera, work with your IT team or a provider like Clouddle to run a network audit. You need to confirm your switches and internet connection can handle the load.
Setting Up Your Storage and Software
With your cameras wired and mounted, it's time to bring the system to life. This is where we configure the software and storage—essentially, the brains of your entire surveillance operation. The decisions you make here will directly impact how you access, manage, and protect your video footage for the long haul.
The first big question to tackle is where your recordings will actually live. You really have two main paths, and for a business or multi-family property, each one comes with its own set of operational pros and cons.
On-Premise NVR vs. Cloud Storage
Choosing your storage isn't just a line item on an invoice; it's a strategic decision that shapes your data control, accessibility, and ongoing costs.
A Network Video Recorder (NVR) is a dedicated piece of hardware you keep on-site. Think of it as a purpose-built computer designed for one job: recording and storing video from your IP cameras around the clock. This setup gives you total physical control over your data, which for many businesses, especially those in industries with strict data residency requirements, is a deal-breaker.
Cloud storage, on the other hand, zips your footage over the internet to be stored on secure, remote servers. The biggest win here is accessibility. You can pull up live and recorded video from anywhere with an internet connection, all without ever having to touch a piece of physical hardware.
A hybrid approach is getting really popular, and for good reason. You can use an NVR for your primary, high-resolution local recording while simultaneously sending important motion-triggered clips to the cloud. This gives you the best of both worlds: robust local storage with a secure, off-site backup of critical events. For more on this, you can explore various data backup solutions for small business continuity.
While the latest IP camera systems get all the attention, the older analog market is still surprisingly resilient. Back in 2019, it was valued at USD 2.1 billion and is still growing. This is partly because the initial install can be simpler and cheaper, even if you miss out on the advanced software features of modern systems. This ongoing demand just shows how important it is to have scalable systems that can evolve. You can get more insights on the security camera market trends on Technavio.
Fine-Tuning Your Software Settings
Once your storage is sorted out, you can start unlocking the real power of your system by diving into the software. This is how you turn a set of passive recording devices into an active security tool that genuinely works for you. Don't just stick with the factory defaults—take the time to customize the settings to match the unique flow of your property.
Here’s where I recommend you start:
- Motion Detection Zones: Right out of the box, most cameras will scream "motion!" at everything, from a tree branch swaying in the wind to a car driving by on the street. This leads to "alert fatigue" fast. You need to go into each camera's settings and draw specific zones where you actually care about movement—think doorways, restricted hallways, or entry gates. This one tweak will cut down on false alarms dramatically.
- Recording Schedules: You probably don’t need every camera recording at maximum quality, 24/7. That's a surefire way to burn through storage. Set up schedules that align with your actual operational hours. For example, have your lobby cameras record on motion only during the day but switch to continuous recording overnight. It’s a simple change that can save a massive amount of disk space.
- Alerts and Notifications: Figure out which events actually demand an immediate notification. A person trying the server room door after hours? Absolutely. A delivery truck pulling into the loading dock at 10 AM? Probably not. Configure your system to send push notifications, emails, or texts for the high-priority stuff so your team can respond when it truly matters.
Securing Remote Access
Being able to check in on your cameras from a phone or laptop is a massive convenience, but it can also be a gaping security hole if you’re not careful. The first rule is to never, ever use the default username and password. Create strong, unique passwords for every user, and if your system supports it, turn on two-factor authentication (2FA) immediately.
For any IT managers setting this up, it's just good practice to create user roles with specific permissions. Not everyone on staff needs to see every camera or have the power to delete footage. A front desk employee might only need a live view of the lobby, while the property manager needs full access to all recordings. Taking these steps from the get-go ensures your security system doesn't accidentally become your biggest vulnerability.
6. Mounting and Testing: The Final Hands-On Phase
This is where the rubber meets the road—the physical work of mounting your cameras and concealing the wiring. All the planning comes together in this final, hands-on stage, and the focus shifts to precision and durability. A clean, professional mount doesn't just look better; it's your first line of defense, protecting the hardware from weather and tampering so it can do its job for years to come.
Getting this part right is what turns a box of high-tech gear into a truly integrated security system. It all comes down to the details, from using the right fasteners for the wall surface to making sure every cable is neatly tucked away and shielded from the elements.
Best Practices for Secure Camera Mounting
Mounting a camera isn't as simple as driving in a couple of screws. The surface itself dictates your entire approach. Using the wrong hardware is a rookie mistake, and it's one that can lead to a camera falling off the wall or being easily yanked down.
- Brick and Concrete: You'll need a hammer drill and masonry bits for these tough surfaces. Go with concrete sleeve anchors or lag shields with lag bolts to get a rock-solid hold that won’t wiggle loose. Whatever you do, don't use standard plastic anchors here—they will fail, it's just a matter of when.
- Vinyl or Wood Siding: The goal here is to find the stud behind the siding and mount directly into it. If a stud isn’t perfectly placed, your next best bet is to use high-quality toggle bolts designed for hollow walls, as they distribute the weight properly. Mounting only to the thin siding material itself is just asking for a sagging or detached camera.
- Metal Surfaces: When you're dealing with steel beams or metal siding, self-tapping screws are usually the way to go. They create their own threads as you drive them in, giving you a tight, secure fit without any fuss.
Before you drill any final holes, do a quick "dry fit." Hold the camera in its intended spot and pull up the live view on a tablet or phone. This lets you confirm the angle and field of view are exactly what you planned, saving you the headache of drilling unnecessary holes.
Concealing Wires for Security and Aesthetics
Exposed cables are more than just an eyesore; they’re an open invitation for tampering. A truly professional installation protects the wiring and maintains the building's clean appearance. The best-case scenario is always running cables through walls, attics, or ceiling voids for a completely discreet and protected setup.
When that’s not an option, the next best thing is to use conduit or a surface-mounted raceway. For outdoor runs, metal conduit offers the best protection against both physical damage and weather. Inside, a paintable plastic raceway can blend right into the wall for clean cable management. And for any outdoor connections, always use a weatherproof junction box. This prevents moisture from getting in and corroding the connectors—a common and incredibly frustrating point of failure.
Proper cable management isn't just about looking good; it's a security measure in itself. A neatly bundled and concealed wire run is significantly harder for a potential intruder to cut or disable than a single, dangling cable.
The Commissioning and Testing Checklist
With everything mounted and plugged in, the last thing to do before you can officially call the job "done" is a thorough commissioning process. Think of it as your final quality assurance check to guarantee every single component is working exactly as it should. Don't be tempted to skip this part; one misconfigured camera can create a massive blind spot in your coverage.
Grab a tablet and walk the property, testing each camera against a detailed checklist:
- Verify Field of View: Is the camera actually capturing the area you intended? Check for any new obstructions or potential glare from lights or the sun at different times of day.
- Test Focus and Resolution: Zoom in on the live feed. Can you make out fine details like faces or license plates? If things look a bit soft, now is the time to adjust the focus.
- Confirm Night Vision: As it gets dark, make sure the camera's IR illuminators kick on properly. The black-and-white image should be clear and well-lit.
- Test Motion Detection: Physically walk through the motion zones you configured to ensure alerts are triggered reliably. You might need to fine-tune the sensitivity to avoid false alarms from passing cars or swaying tree branches.
- Check Recording and Playback: Trigger a test recording and then verify that the footage was saved correctly to your NVR or cloud storage. Try playing it back to make sure the video is smooth and easily accessible.
This methodical testing is what ensures your new system is 100% ready to go from day one. While this guide focuses on robust wired setups, it’s worth noting the huge growth in wireless systems. The market for wireless home security camera installation has exploded, hitting USD 9.8 billion in 2024, primarily because these systems eliminate complex cabling and appeal to a much broader audience.
Maintaining Your System and Staying Compliant
Getting your cameras installed is a huge step, but it’s really just the beginning. The real work starts now: keeping the system running smoothly and making sure you’re on the right side of the law. Your focus needs to shift from installation to long-term management.
A security system you can't rely on is worse than no system at all. A little dust on a lens can blur a license plate number, a loose cable can knock a critical camera offline, and forgotten firmware updates are an open invitation for security breaches. Proactive maintenance isn't just a good idea—it's essential.

Building a Simple Maintenance Schedule
You don't need a complicated, multi-page checklist. Consistency is what matters. A simple quarterly check-in can catch over 90% of the typical issues I see in the field before they turn into major headaches. A bit of preventive care goes a very long way.
Here’s what your routine should cover:
- Lens Cleaning: Grab a microfiber cloth and some proper lens cleaner. Gently wipe away the dust, grime, and water spots that inevitably build up. A dirty lens can make a 4K camera look like it’s from the early 2000s.
- Connection and Cable Inspection: Get hands-on and physically check that every connection is snug, both at the camera and back at the switch or NVR. Keep an eye out for any frayed or weathered cables, especially those exposed to the elements.
- System Health Check: Log into your dashboard and make sure every single camera is online and recording correctly. I always recommend scrubbing through a few seconds of recent footage from each one to check for image clarity and a correct timestamp.
- Firmware Updates: This is a big one. Periodically check for new firmware from the manufacturer for your cameras and your recorder. These updates aren't just for new features; they often contain critical security patches that protect you from the latest threats.
Forgetting to update firmware is one of the most common and dangerous oversights in security system management. It's the digital equivalent of leaving the back door unlocked.
Navigating Privacy and Legal Compliance
This is where a lot of operators, even well-intentioned ones, get into trouble. Just because you can mount a camera somewhere doesn't mean you should. In any commercial or residential setting, you have a serious legal and ethical duty to respect the privacy of your employees, tenants, and guests.
Ignoring privacy laws isn't just poor form; it can open you up to lawsuits and hefty fines. The key is to be completely transparent about what you're doing and why, and to operate within what's considered a "reasonable expectation of privacy."
Best Practices for Responsible Surveillance
To keep your business protected and maintain trust with everyone on your property, build your security policy around these core practices:
- Post Clear Signage: This is non-negotiable. Put up signs at all property entrances that clearly state video surveillance is active. This isn't just a legal requirement in many places; it’s also a powerful deterrent.
- Avoid Private Areas: Never, ever install cameras where people expect privacy. That means restrooms, changing rooms, locker rooms, and of course, inside individual apartments or hotel rooms.
- Create a Written Policy: Draft a formal document that explains why you're recording, how that footage is stored, who has access to it, and how long you keep it. Make this policy easily accessible to residents and staff.
- Secure Your Data: The video you capture is sensitive information. A crucial part of your system's upkeep involves ensuring that data is protected from prying eyes, which means mastering data security compliance is a must.
Following these guidelines is about more than just avoiding legal headaches. It’s about creating a culture of security built on transparency and respect—and that's just as valuable as any piece of hardware.
Managing a comprehensive security system, from the physical hardware to the complex compliance rules, requires real expertise. Clouddle Inc offers fully managed Network-as-a-Service solutions that take this entire burden off your plate. We handle everything, including 24/7 monitoring and support, to ensure your system is always running perfectly and securely. Discover how Clouddle can simplify your property’s technology management.